How to use GIFs to Up Your Release Notes Game
Whether you pronounce it “jiff” like “jiffy” or “gif” like “gift”, chances are you’ve been entertained by a video or image in the handy GIF format.
The ubiquitous GIF was created by developers as a memory-saving solution back in the late 80s. Since then, it’s become an internet sensation, filling WhatsApp groups and blogs with nifty looping memes for every occasion.
But the mighty GIF is not just for hilarious TV moments (we’re looking at you, Michael Scott).
Forget Homer Simpson retreating into a hedge. We’re here to tell you about a far more practical use case: using awesome GIFs to showcase your new product features in action.
For example, using screen recording, you can create a video of your app or website that demonstrates how to find or use a feature.
Actually, it’s not a brand-new concept. Companies like Notion and BareMetrics have been using GIFs in their communication channels for years. Take a look.
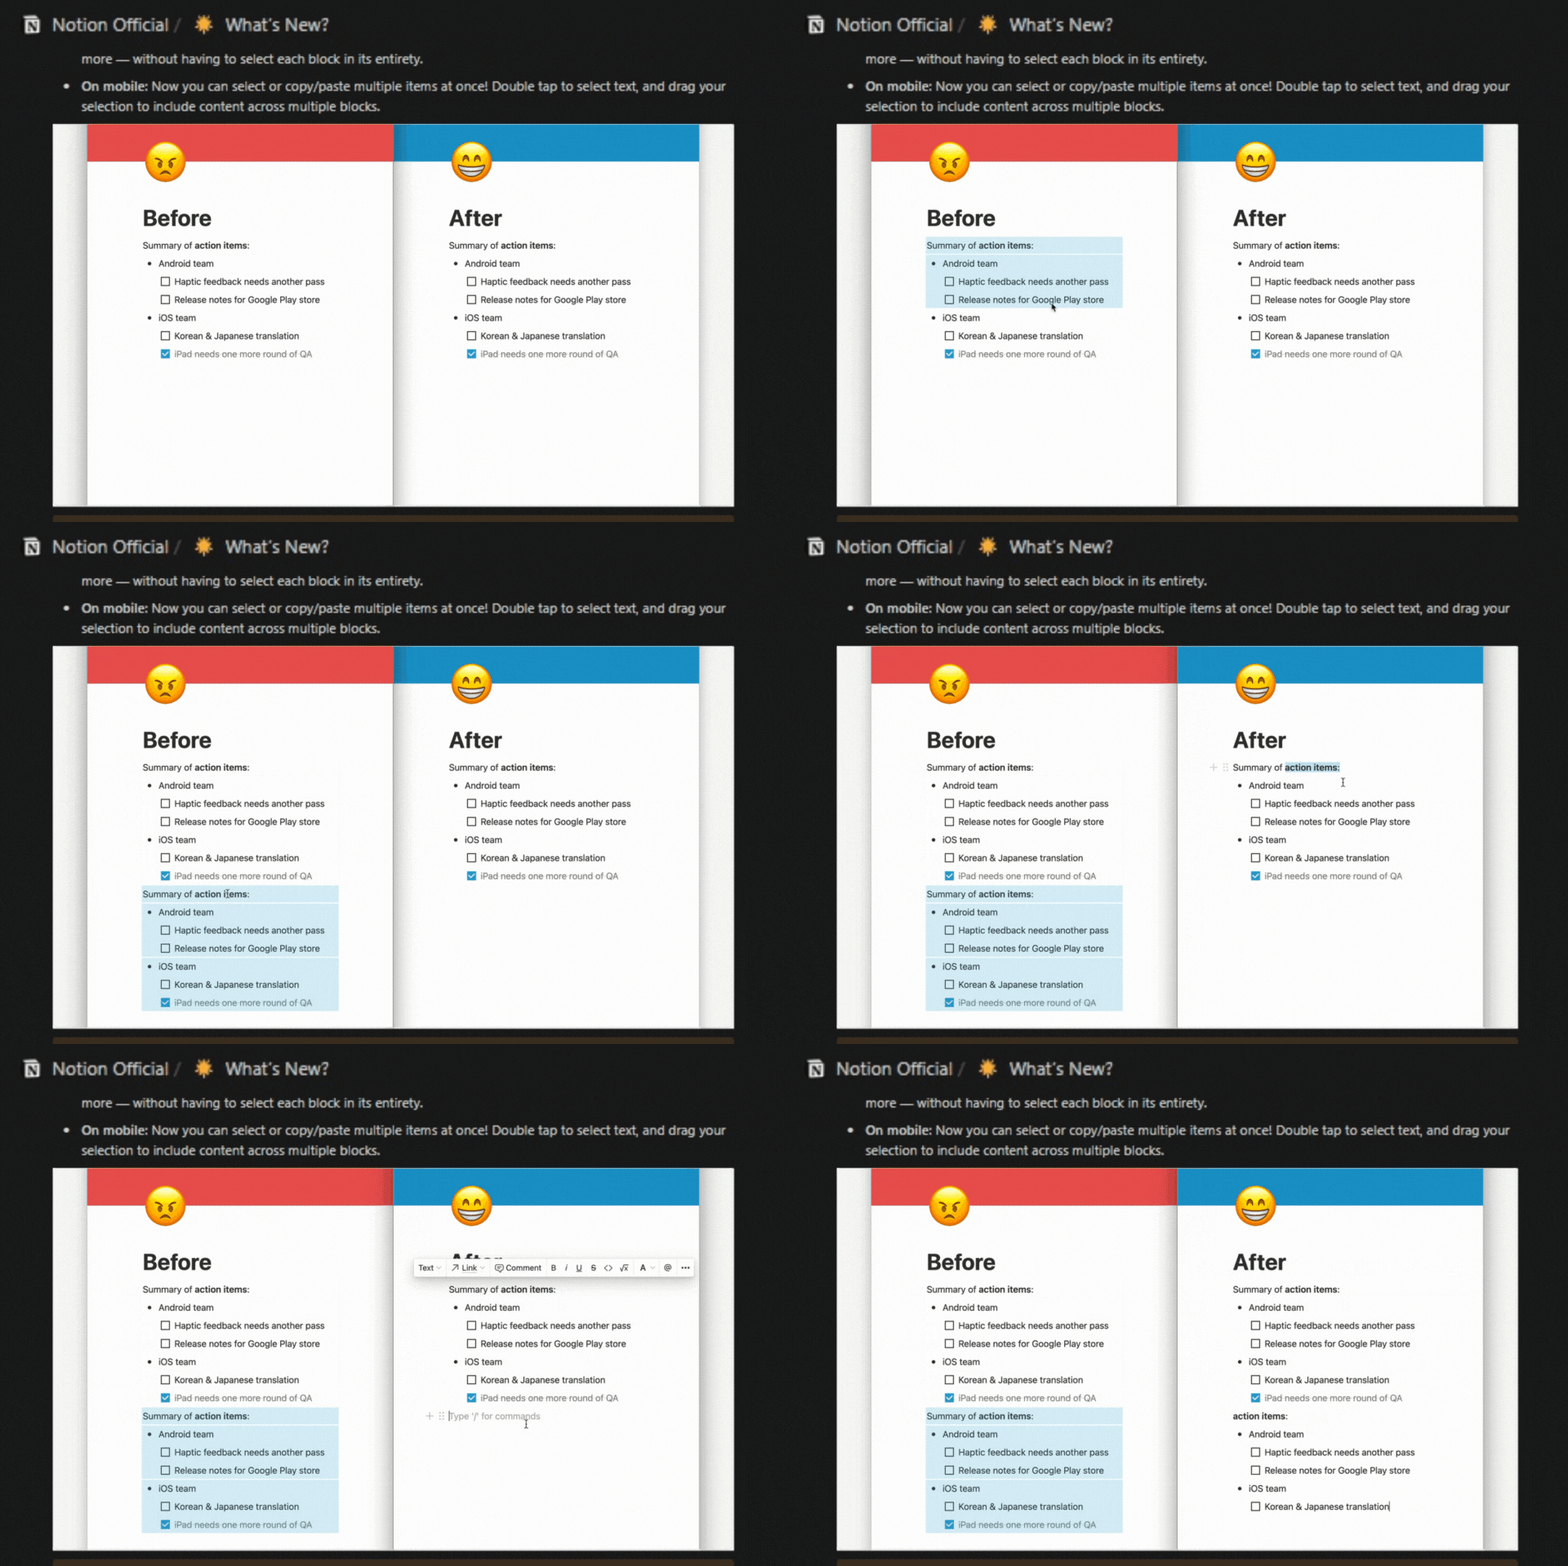
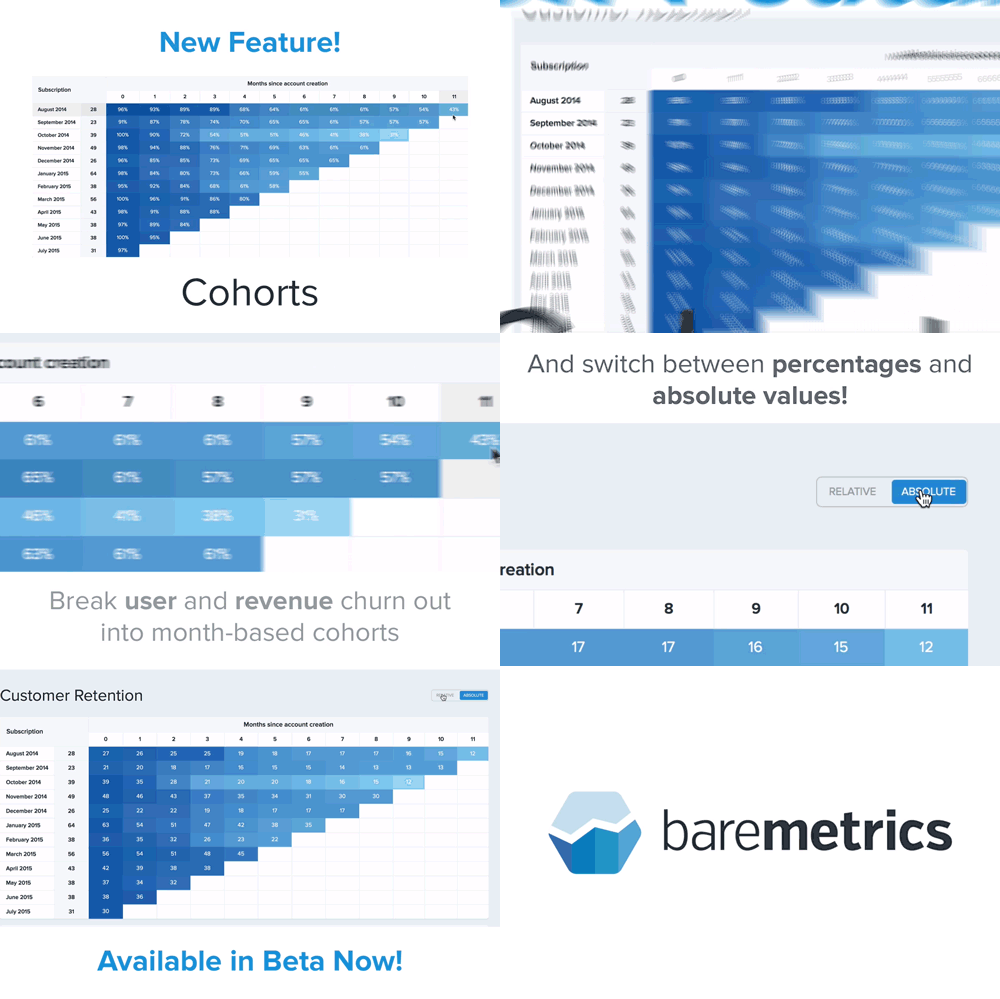
Looks good right?
To help you do the same, we’ve put together a simple step-by-step guide to GIF-making for release notes including capturing, editing, and converting to a GIF.
But before we get to that, let’s unpack why this format works so well for release notes.
Benefits of GIFs for release notes
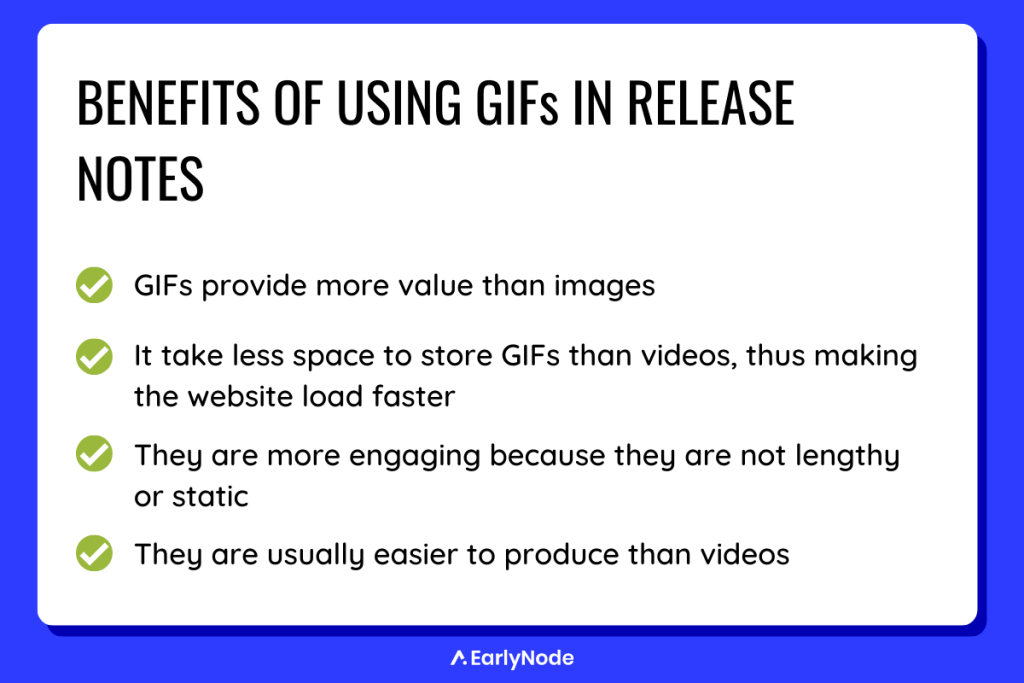
There are three major benefits of using these snappy visuals in your release notes strategy.
1. More engagement
GIFs are quick and entertaining. So, using GIFs to showcase your features in your release notes can increase your content engagement and draw more attention to new features. This helps boost feature adoption.
You can also improve your in-app communication with GIFs auto-playing in the in-app changelog section.
2. They’re easier to produce
GIFs are often easier to produce than videos because they are short and simple with no sound, and yet they give you more value than still images.
There’s also no need for high-end software. You can quickly create GIFs in small built-in software in MacOS and Windows.
3. They load faster
Using GIFs instead of videos can enhance your website speed because they require less storage space and are more optimized.
Getting started with GIFs
To get started with GIFs, you need:
- A screen recorder,
- an editor (you can use Movavi on Windows and Screenflow on Mac)
- and a new and exciting feature to highlight.
Movavi Unlimited
Movavi Unlimited is an all-in-one tools suite for screen recording and editing.
You can run Movavi both on Windows and MacOS. You can visit Movavi’s website and purchase their 1-year Unlimited Licence for $144.95.
ScreenFlow
If you want something just for your MacOS then ScreenFlow by Telestream is the best alternative to the Movavi suite.
ScreenFlow can also be used for both recording and editing. You can purchase its 1-year license for $169 on TeleStream’s website.
These two tools combined will be your “professional” GIF-making kit.
You can also check out the following tools:
GIPHY GIF Maker (free)
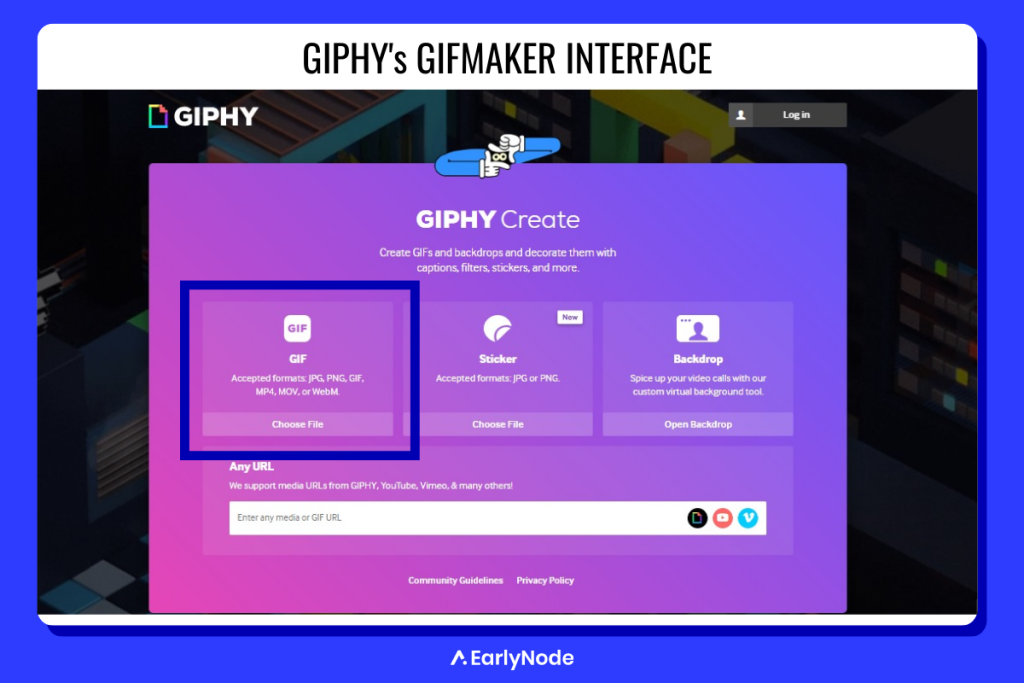
GIPHY is the easiest way to compress a video into a fun loopy GIF. Just upload your video or image frames, and GIPHY will convert them into GIFs.
Something worth noting: All your GIFs belong to GIPHY unless you create an account and keep them private.
GifBrewery 3 ($0.99/month)
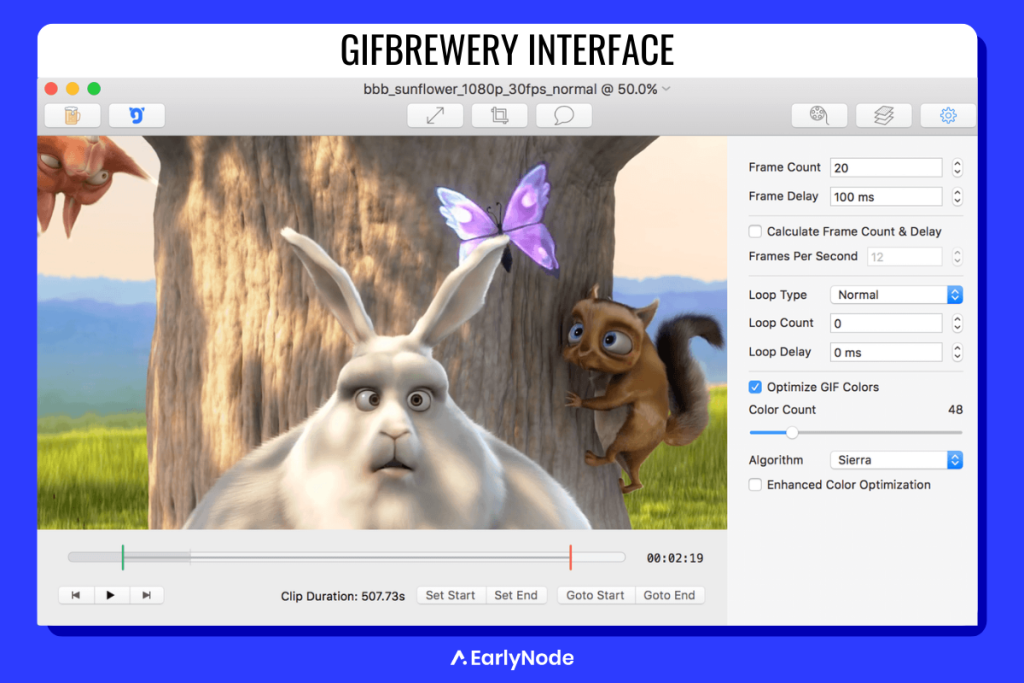
GIFBrewery can help you create awesome GIFs in minutes without downloading any software.
It comes with every GIF editing tool there is. And it’s a bargain to boot!
Some GIF-making rules!
Now before we get to the fun part of recording and editing our GIF, let’s lay down some GIF-making rules. If you don’t wanna spend hours editing awesome-looking recordings only to discover they don’t look so awesome when you cram them into a 5MB GIF, you gotta keep these things in mind.
1. Keep colors at a minimum
As a compressed format, a GIF only has 256 colors to work with. Keeping colors at a minimum gives you more time and file size to play around with.
If there are a lot of colors and movement, you may not even get a 10-second GIF in 5MBs.
2. Avoid color transitions
Following that, fading elements in or out requires colors from dark to bright shades. This introduces more color to the GIF, thus pumping its size.
We’ll share some alternative size-friendly transitions later in this article.
3. Keep it short and sweet
There’s no hard and fast rule about the length of a GIF, but for the sake of the size, it’s better to wrap things up within 10-15 seconds.
This also encouragesmore engagement as you provide more value in less time.
Starting the process
There are two ways to create a GIF. You can either record a video and convert it into a GIF or create frames and combine them together to make a motion loop, aka GIF.
In this GIF-making process, we’re going with the first approach because it is easier and faster.
The following are the two basic things you need to do to start this process:
Cleaning UI elements
Remove any unnecessary UI elements from your webpage before recording. This limits distraction and keeps viewers’ attention on the main highlighted feature.
But don’t worry, it’s not that hard:
- Open your website in Google Chrome.
- Hit the CTRL + SHIFT + I or CMD + SHIFT + I keys on your keyboard. This will open up the Google Elements bar on the right side of your screen.
- You will see a cursor icon in the top-left corner. Press that once and click on whatever element you want to delete on your webpage.
- The code of that element will appear in the elements bar.
- Right-click on that code and select “Delete Element” from the dropdown menu. And you’re done.
Repeat steps 3 to 5 to remove each unnecessary element.
Capturing the video
Here you need screen recording software to capture your new feature in action. You can use Movavi Recorder from their Movavi unlimited suite and simply record your desktop screen while you’re using the new feature.
Make sure to keep it short and quickly show how this feature benefits the user. This will help you edit a great GIF within the 5MB mark.
Editing time!
It’s time to take the raw video you recorded and convert it into a dope GIF. Using effects, you can guide the viewer’s focus and make your GIF more engaging.
Effects are created using your editor’s pan, zoom, and keyframes features. Here’s how they work and when to use them.
Zoom zoom
The most used effect of any tutorial video or screencast is Zoom. You can use this to zoom in on specific areas and make them more visible to users. Zoom works best if it’s quick and snappy, so a duration of 0.3-0.5 seconds is good for the zoom-in or zoom-out animation.
In Movavi Editor, you can set a starting and an ending keyframe (aka time marker) on your video to indicate where in the timeline you want to place the zoom effect. See the example below:
Pan across
In filmmaking, a pan is when the camera pivots left or right (like an umpire watching tennis). If you’re zoomed in on something on the right side of the screen but you now want to show something on the left side, you don’t have to zoom out and zoom in on the other side. Use pan instead.
Set keyframes to indicate where in the timeline you want the pan to start and end.
Caption it
Complicated features may be difficult to demonstrate with visuals alone. That’s where captions can add clarity and help you emphasize the benefits of the new feature in your GIF.
You can easily add Captions with ScreenFlow or Movavi editor. It is recommended to use your brand’s font and color. But if you need to reduce the file size, just add white space in the video and use black font.
Keep your captions short and punchy – 2 to 3 sentences max.
Text Animations
You can’t use a lot of color animations in your GIF because of the file size issue. But text animations can help you make your GIF pop.
Use animated text for the intro or outro of your GIF to add visual texture.
Every video editor has pre-made templates for titles and captions. You can also customize them to your liking.
💡 Cool transition idea
Transitions are also very color-hungry, so we must be careful when using them in a GIF.
But this cool zoom-in transition idea is awesome and “size-saving” simultaneously.
Converting Video into GIF
Now that you have your edited video, it’s time to convert it into a loopy GIF.
For this purpose, we need to visit EZGIF.
EZGIF
EZGIF is a go-to tool for marketers who want more control over their GIFs. EZGIF is free and provides users with great GIF editing options like frame delay and transitions.
All you have to do is:
- Go to EZGIF.com and click the “Video to GIF” tab.
- Upload your exported video.
- Select the frame rate for your video (10-20 frames per second is enough).
- Hit “Convert to GIF” and export your awesome GIF.
Voila! You are ready to announce your new feature with a GIF that’ll leave your customers in awe.
Final thoughts
Animated GIFs can play a powerful part in your marketing and education campaigns. Heck, you can even opt to use GIFs on your homepage instead of all those fancy code-based animations.
GIFs offer more action and flexibility than images and more portability than videos, thus making them an excellent choice for your release notes – but that doesn’t mean they’re always the best choice.
If you have many short clips to use on your website or in a blog post, your best bet is to embed them, rather than uploading GIFs or videos that could result in a slow load time.
Here is some inspiration for your next feature announcement GIF.


